NVIDIA Omniverse is more than just a real-time simulation platform—it also enables integration with external systems, allowing developers to build scalable, interactive workflows.
In this post, we’ll walk through a case study that demonstrates how to build a custom Omniverse Extension with a user interface (UI) where users can input profile data, store it in MongoDB, and later search and retrieve that data within Omniverse.
The workflow consists of the following stages:
All of this is implemented using the Omniverse Extension framework and integrated with Visual Studio Code for a streamlined development experience.
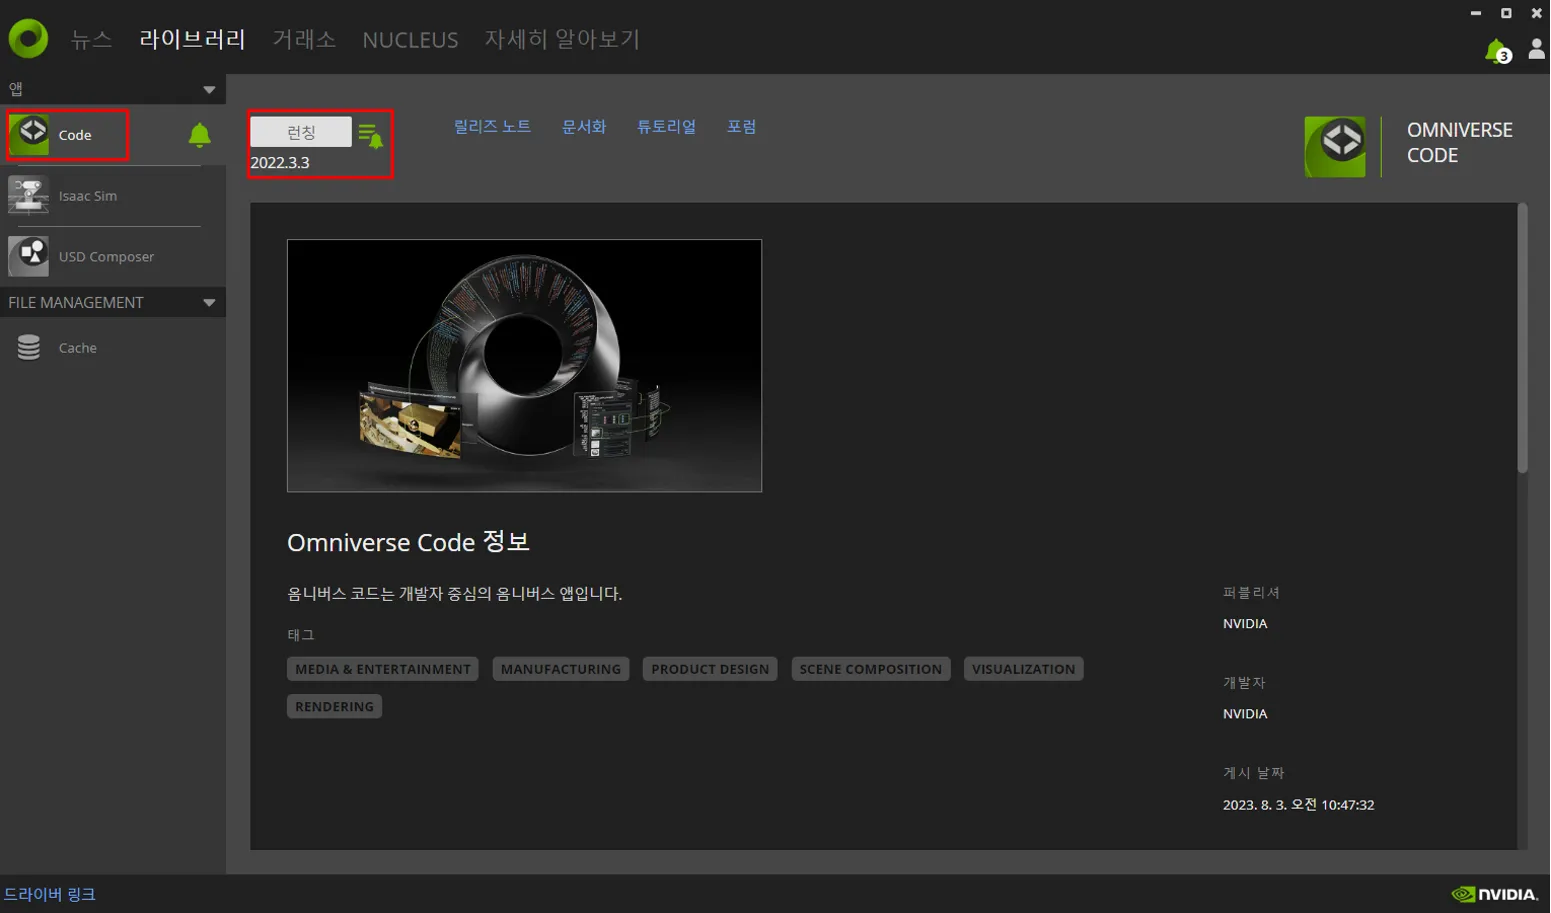
First, install and launch Omniverse Code via the Omniverse Launcher.
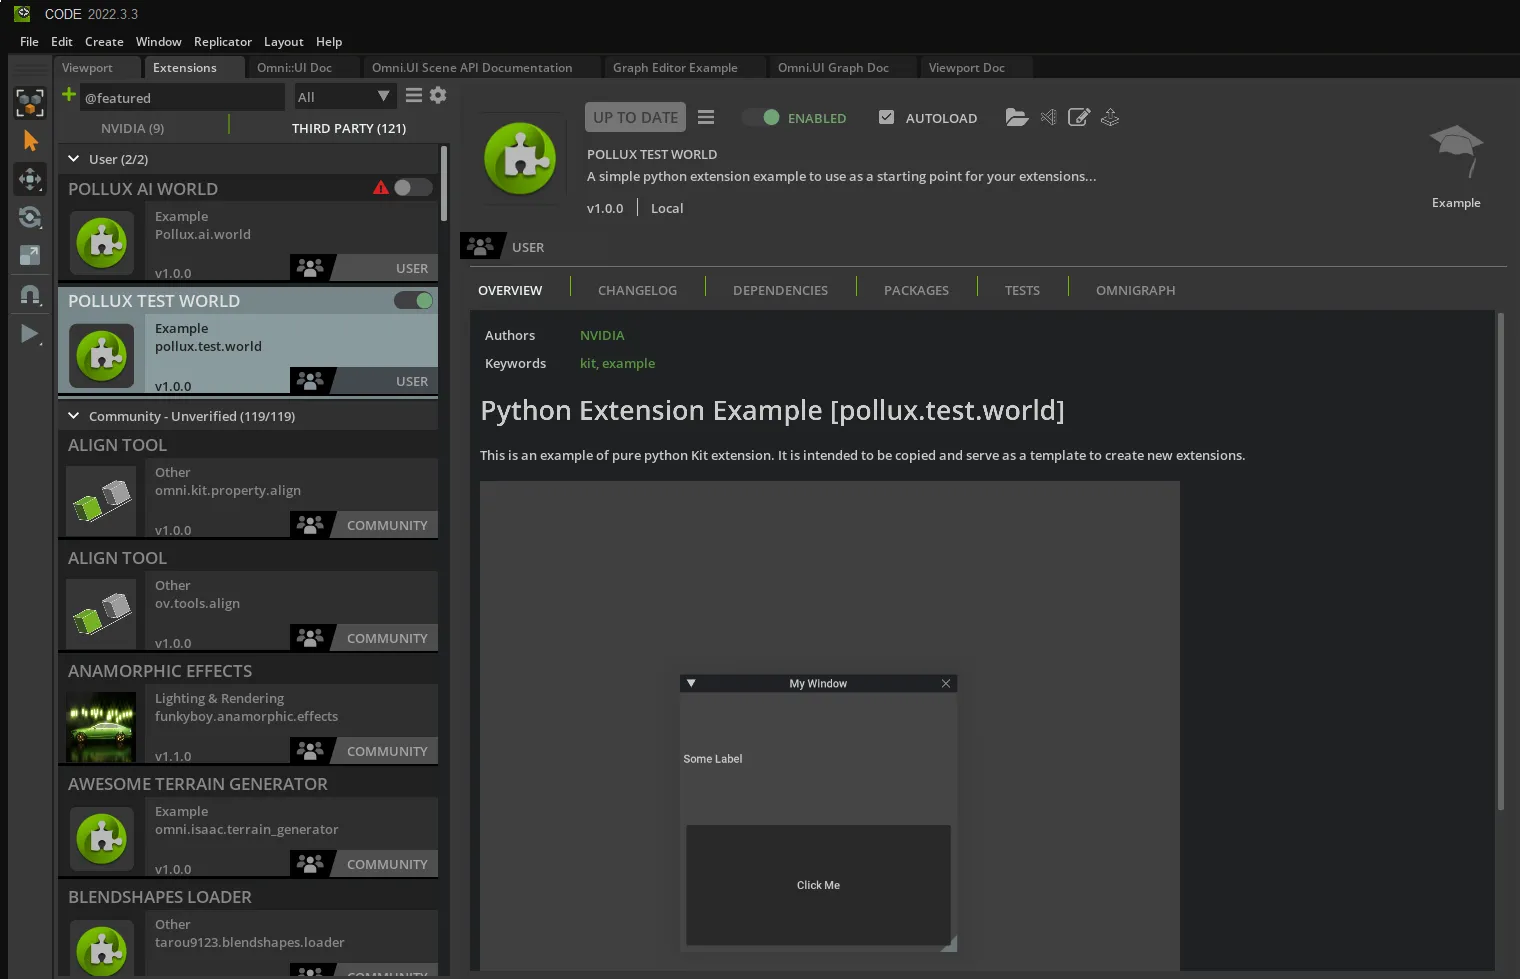
Use the Extension template to create a new project and open it in VS Code. This sets up the boilerplate structure, allowing you to define custom UI elements and behaviors through Python scripting.
To enable MongoDB integration, you need the pymongo package. Since Omniverse runs in a self-contained Python environment, you’ll need to install this package within that environment.

For example:

If this step is skipped, you’ll see an error like: ModuleNotFoundError: No module named 'pymongo' when launching the Extension.

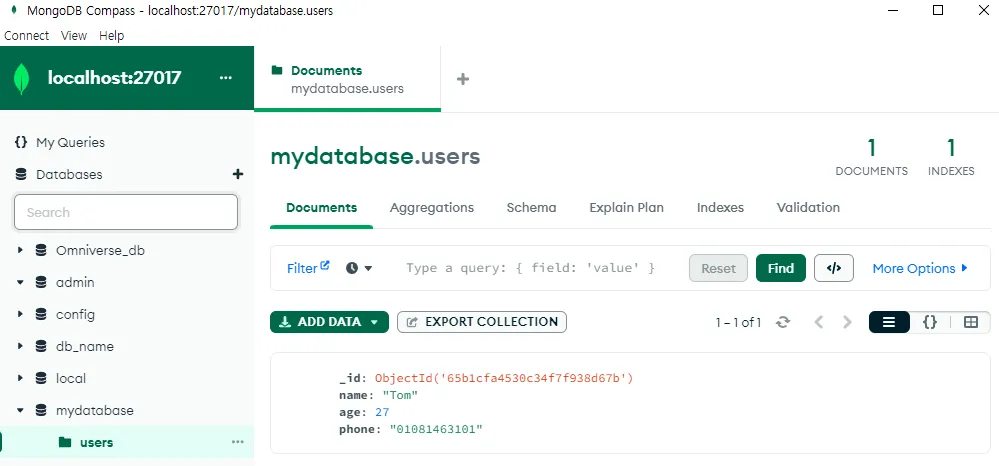
You can now use MongoClient from the pymongo package to connect to your database.
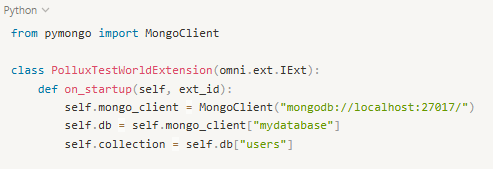
This will connect to a local MongoDB server and access the users collection inside the mydatabase database.
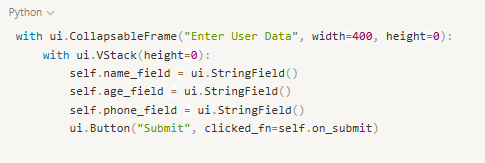
With omni.ui, we can create a simple input form within Omniverse.
The form includes three fields: name, age, and phone number, along with a Submit button.
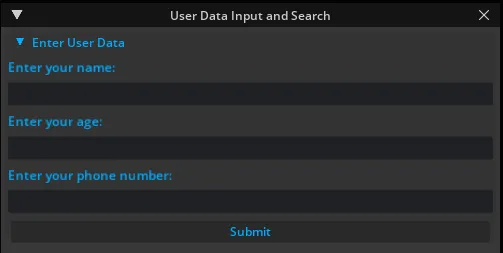
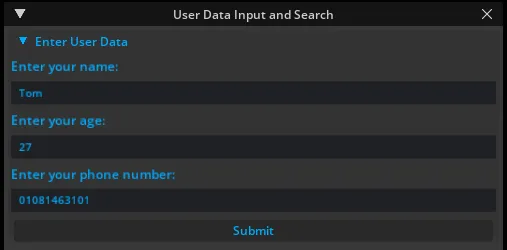
Users can now input their profile data directly inside the Omniverse UI.
The following function is triggered when the Submit button is clicked. It retrieves values from the input fields and stores them in MongoDB.
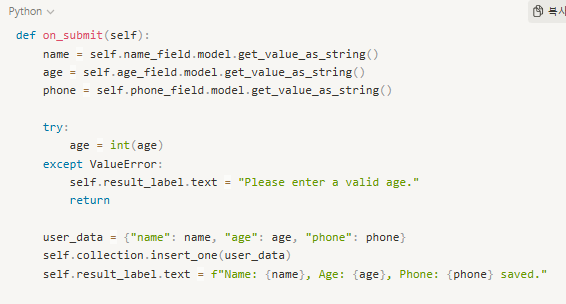
Once the data is saved, a confirmation message is displayed in the UI.
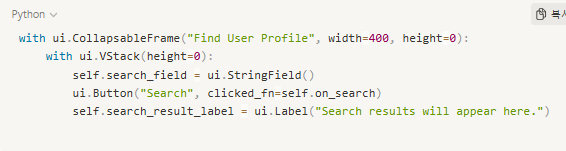
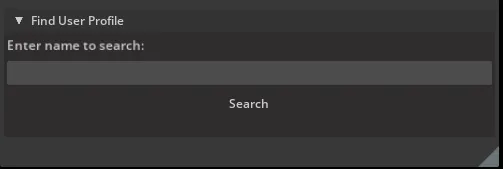
Next, we build a UI for searching user profiles by name.
This section includes a text field and a button labeled “Search”.
The following function queries the database for a matching user profile and updates the UI with the result.
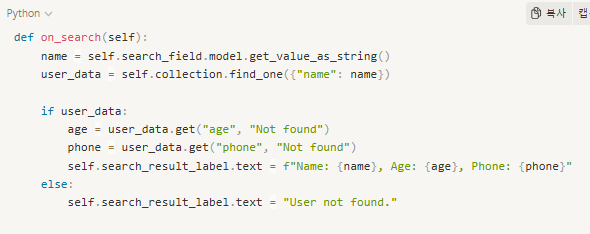

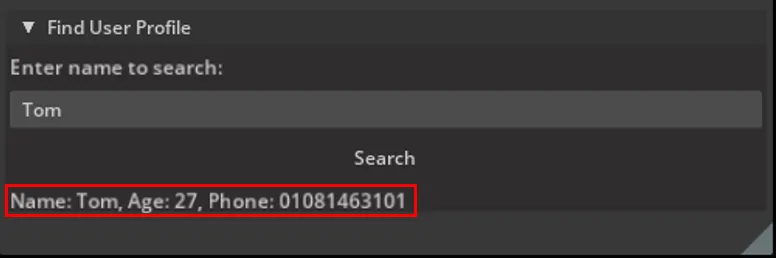
When a match is found, the user's age and phone number are shown. Otherwise, a “User not found.” message appears.
pymongo.This project shows how to create an interactive Extension in Omniverse that connects to MongoDB, enabling live data entry, storage, and retrieval within a 3D environment.
The technique can be expanded for real-world use cases like:
In the future, this workflow can also integrate real-time APIs (e.g. REST, WebSocket, MQTT) to extend beyond simple CSV or form-based data.
Share this post: