NVIDIA Omniverse is a powerful real-time simulation platform that supports highly extensible workflows through custom extensions and applications. One of its core components, Omniverse Kit, allows developers to create and package standalone applications that integrate these extensions for specific use cases.
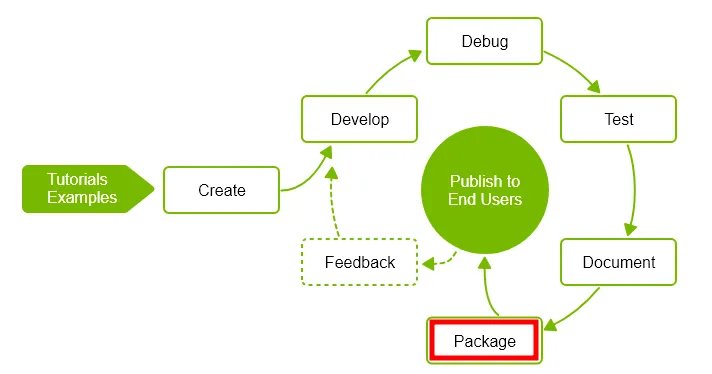
In this post, we walk through the process of building and deploying a custom Omniverse Kit-based App, including:
To get started with Omniverse App development and deployment, NVIDIA provides a comprehensive developer guide:
You can also download a free developer license and Omniverse packages via the same link.
Omniverse Kit offers a command-line tool (repo package) to package your application, checking for all necessary files and directory structure before bundling it into a deployable format.
In this walkthrough, we use a custom extension built by POLLUX that integrates OpenModelica data into Omniverse. This extension is added to the Kit App and later packaged for deployment.
From the Omniverse Launcher, search for and install the Kit application.

This provides the core environment for running and testing custom Kit Apps.
To build a custom application, start with the official Kit App Template.
Clone the repository and run the build command:
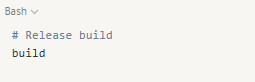
This creates the default app structure, including the app launcher and .kit configuration.
Within source/apps, create a file like my_company.my_app.kit to define the application’s entry point and extension dependencies.
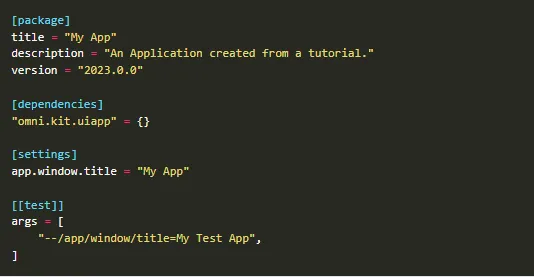
This file is essential for launching and configuring your custom app.
You can run your new app with the following commands:


This launches your Kit App with the configuration and extensions defined in your .kit file.
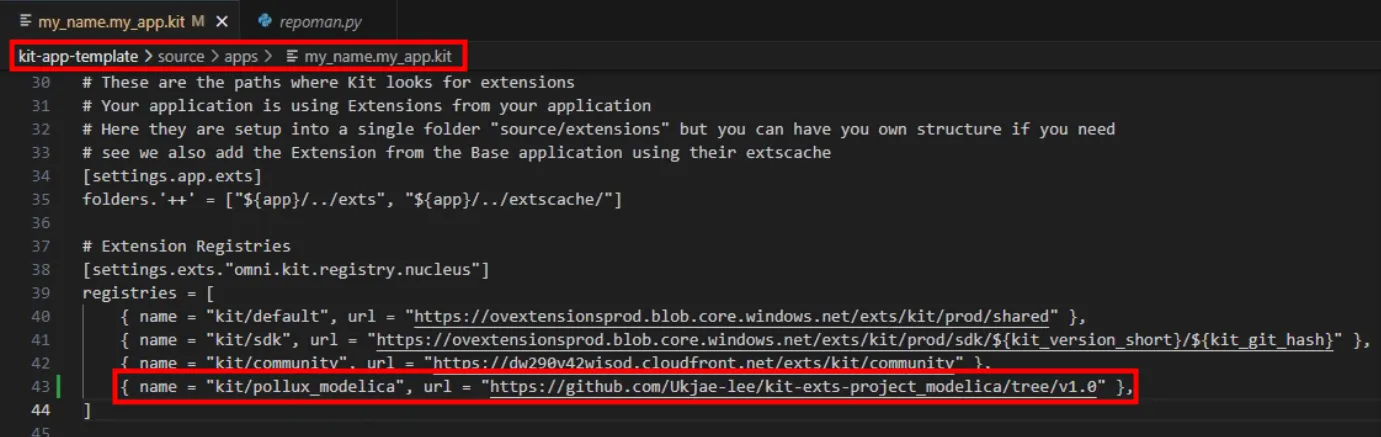
Within the source/apps directory, you can register custom extensions by specifying the Git URL or path in the configuration file.
In this example, the POLLUX OpenModelica extension is added directly to the app’s extension list.
Custom Name and Readme
Once the app is running, open the Extension window in the UI and search for the registered custom extension. Enable it to load its UI and functionality into the running application.
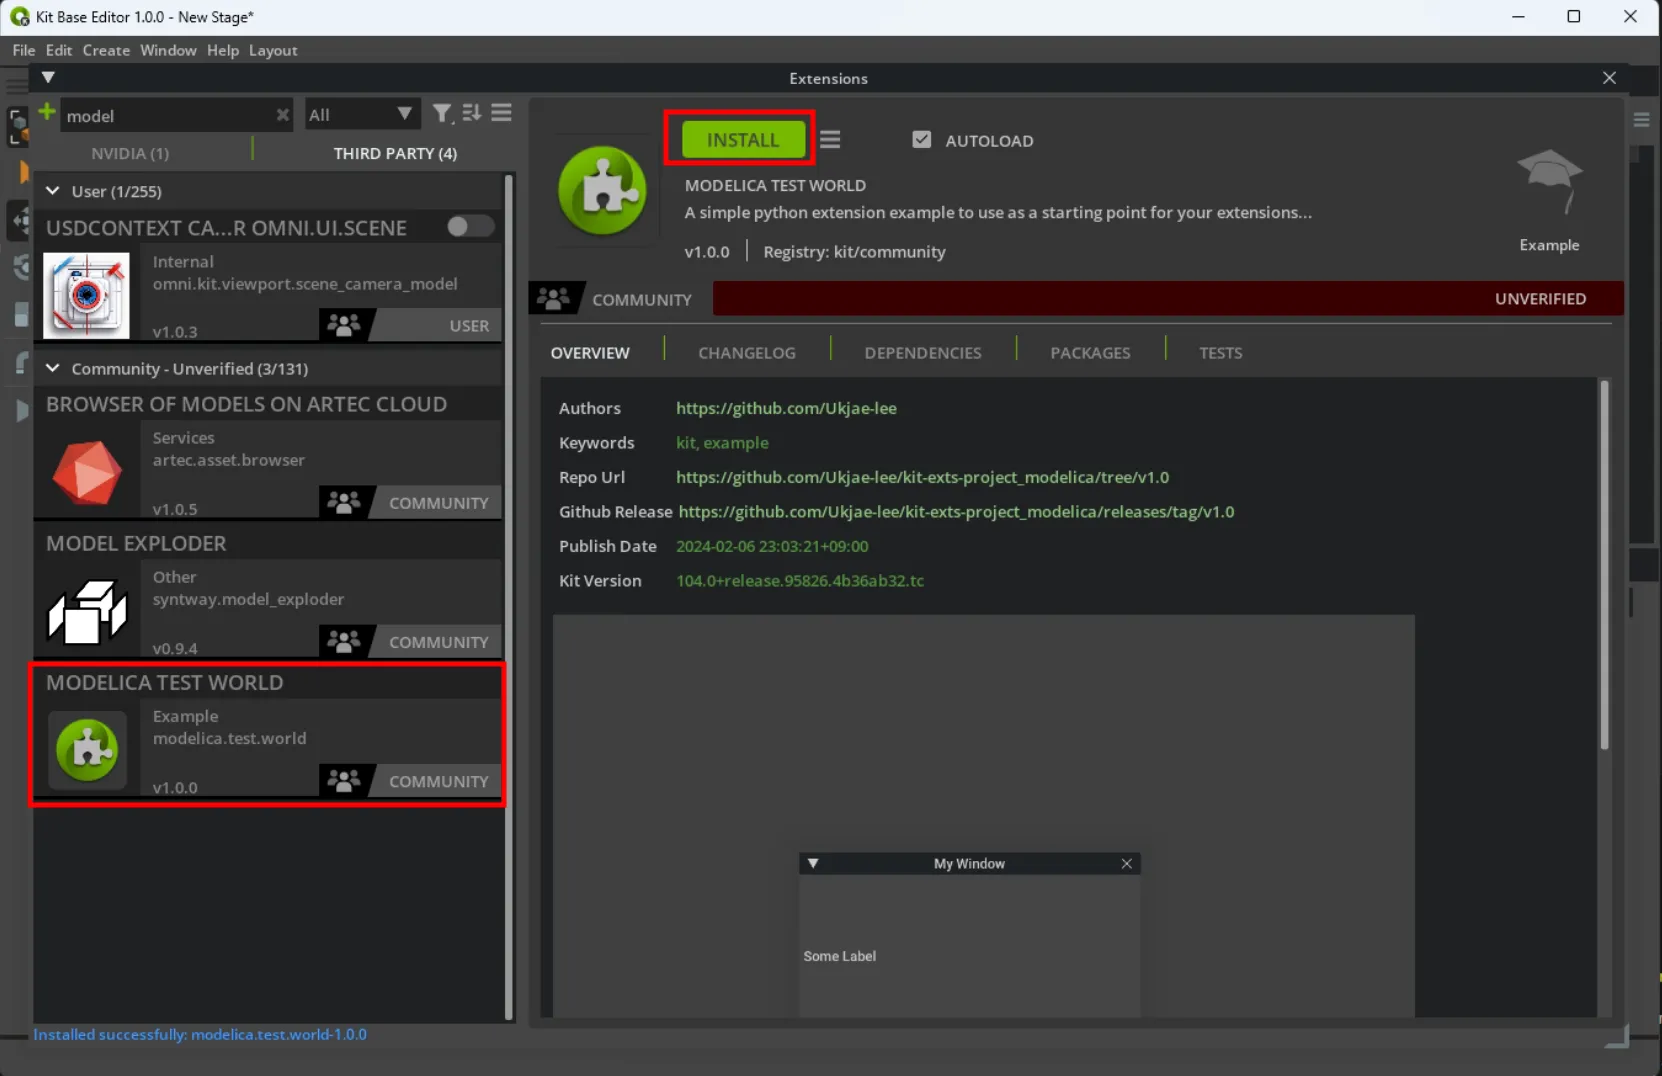
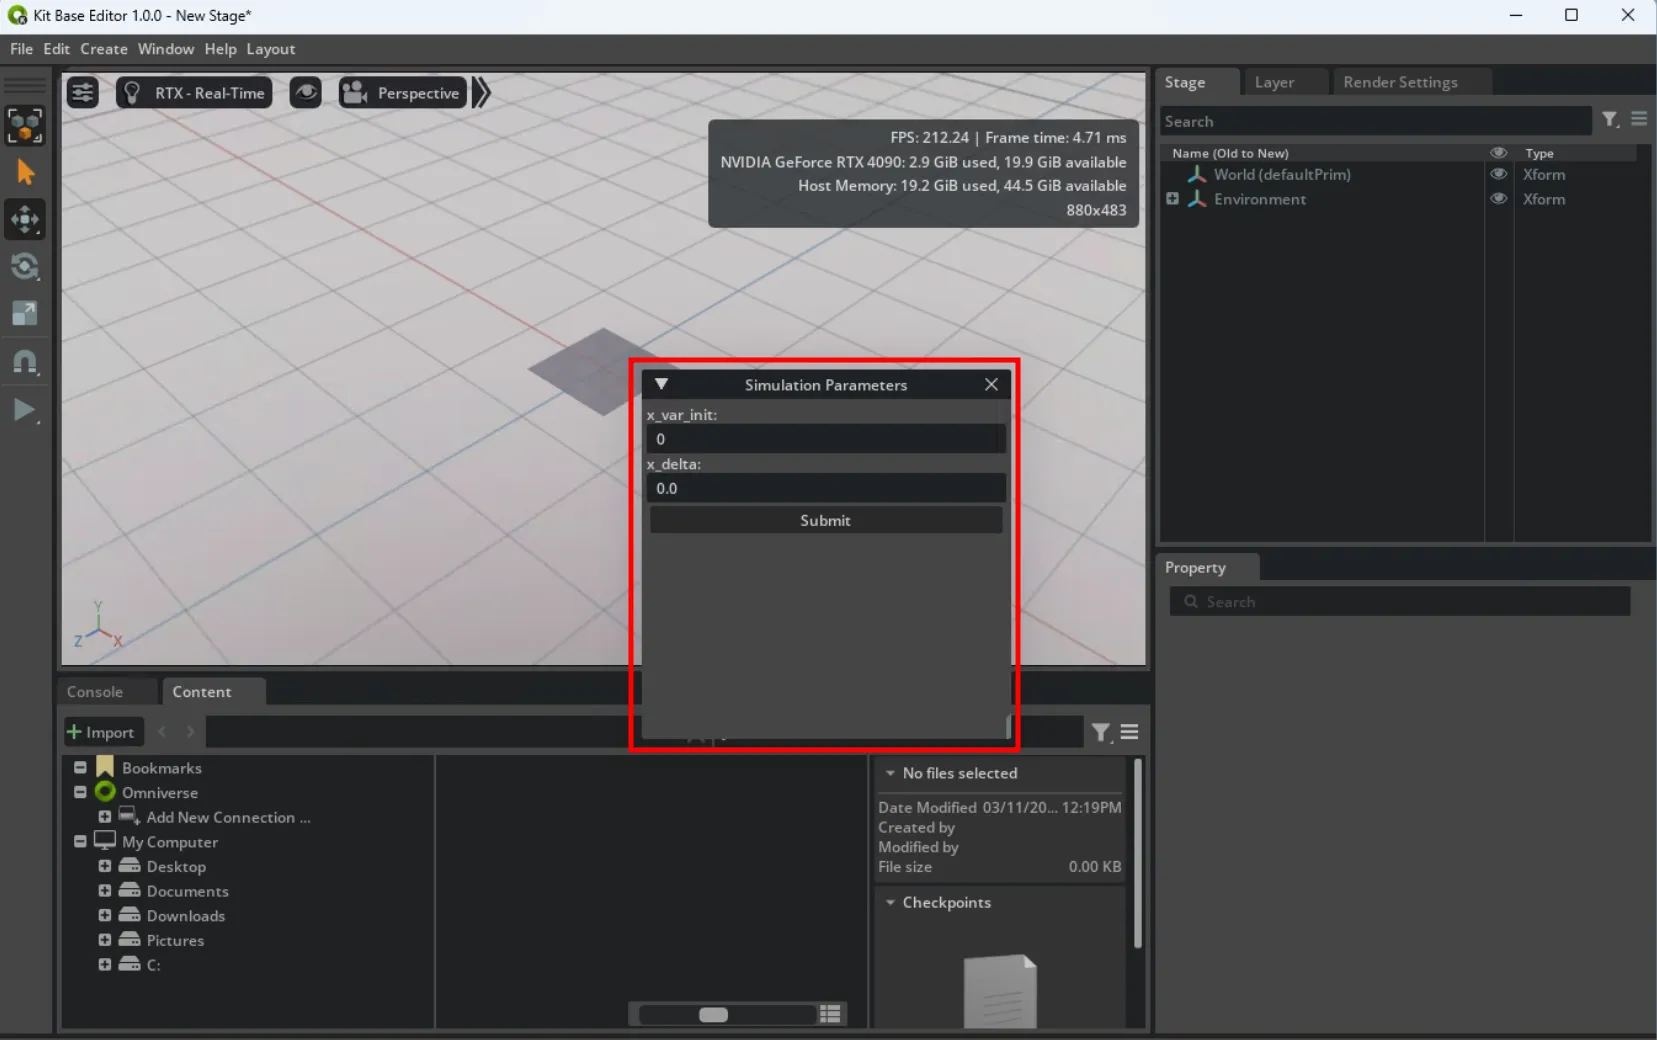
After the custom extension is activated, you will see the UI and features provided by the POLLUX Extension directly integrated within your standalone Kit App.
Once your app and extensions are verified to be working, package the application using the repo package command:
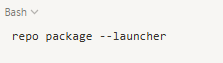

This command will generate a .zip file containing everything needed for installation via the Omniverse Launcher.
You might encounter encoding errors (e.g., UnicodeDecodeError) while registering your packaged app.
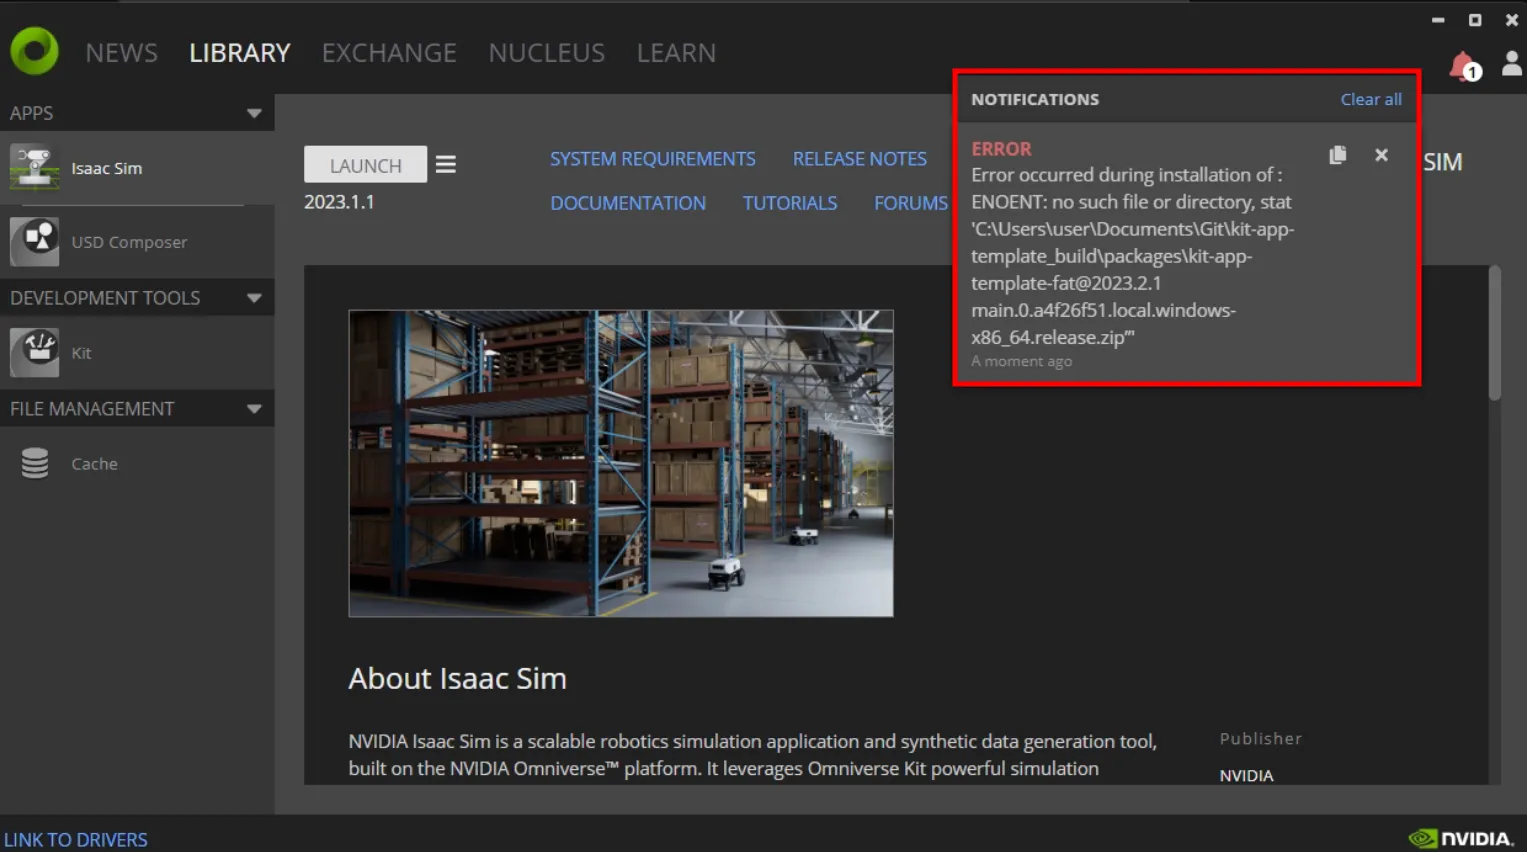
To fix this, update the file reading logic in package_app/main.py to explicitly define UTF-8 encoding:

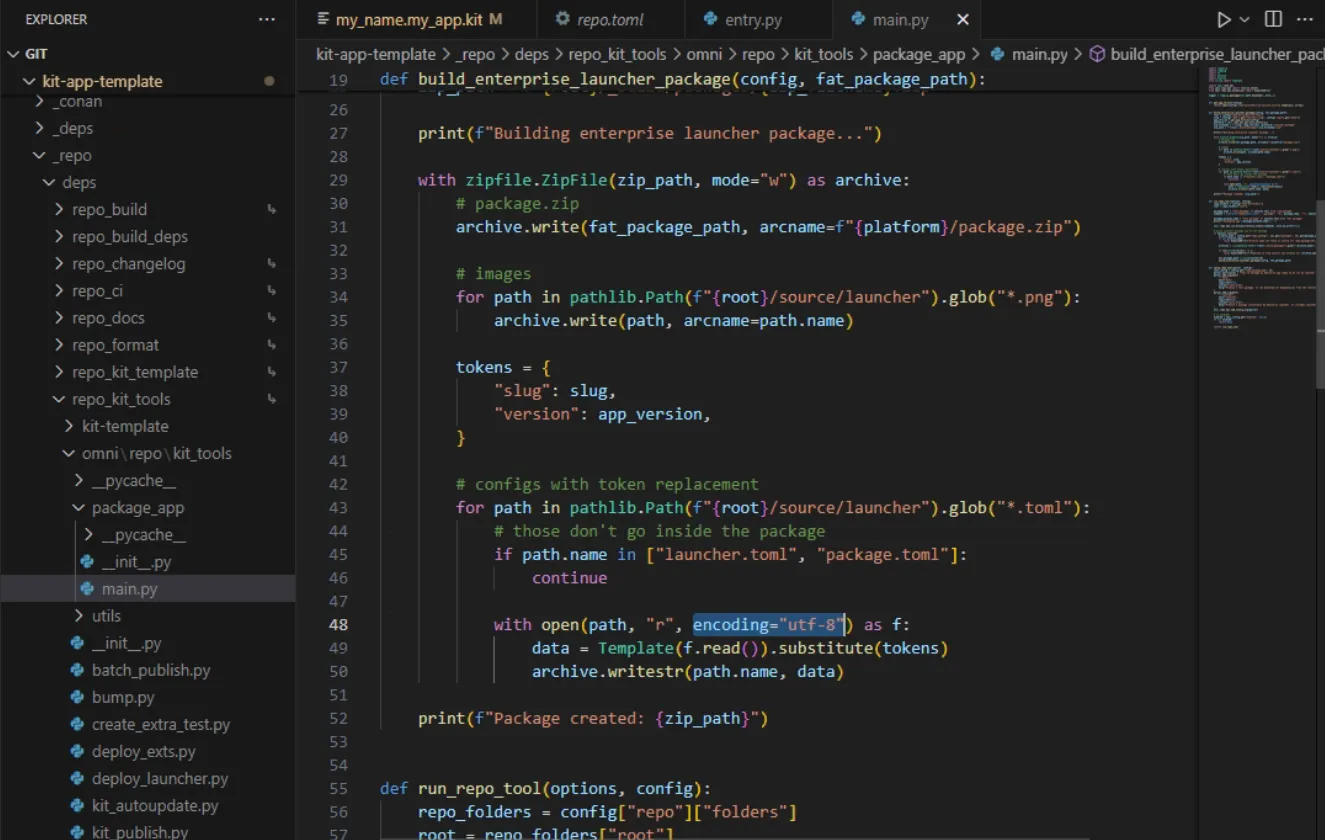
This ensures compatibility across different systems and encodings.
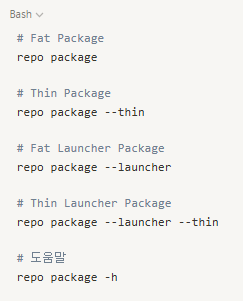
These options let you choose between complete or minimal builds, depending on your deployment scenario.
Once packaging is complete, you can install the .zip App package using this command:

This command installs the app into the Omniverse Launcher.
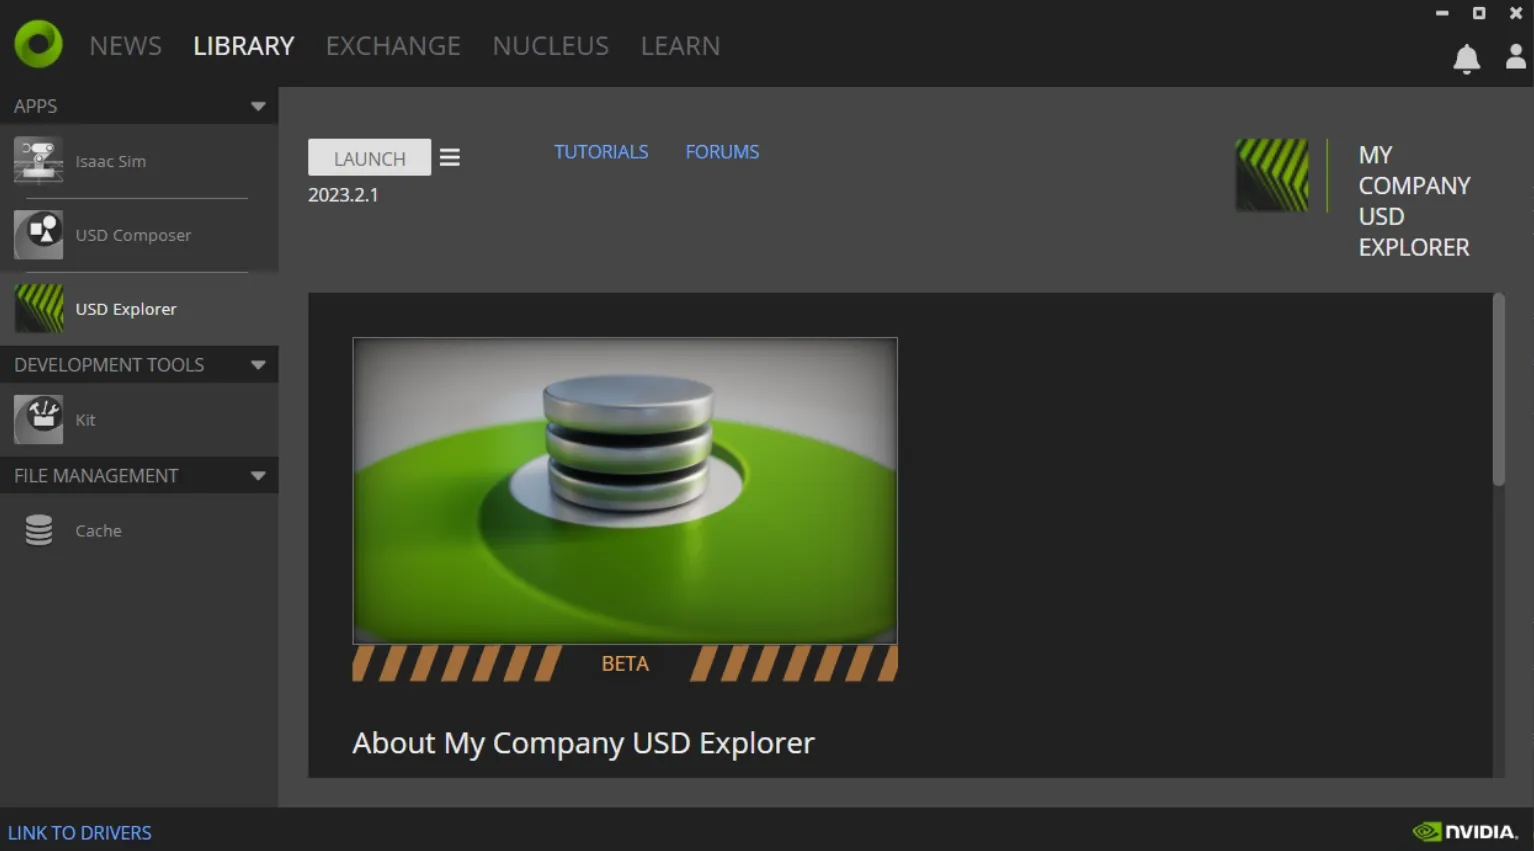
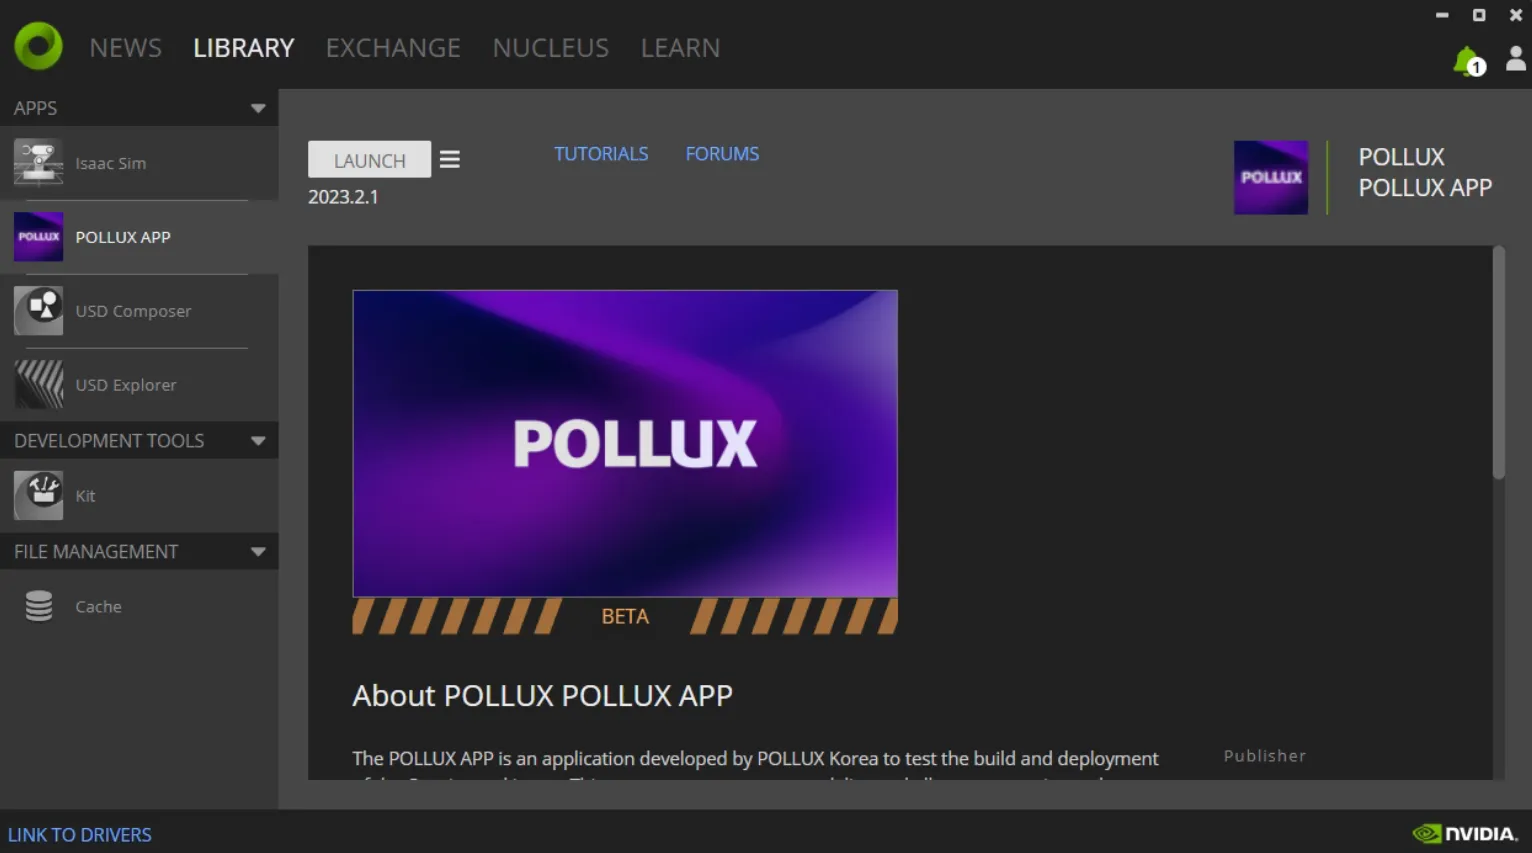
After installation, your custom app will appear as a standalone app in the Omniverse Launcher, with its name and icon displayed like any other official Omniverse tool.
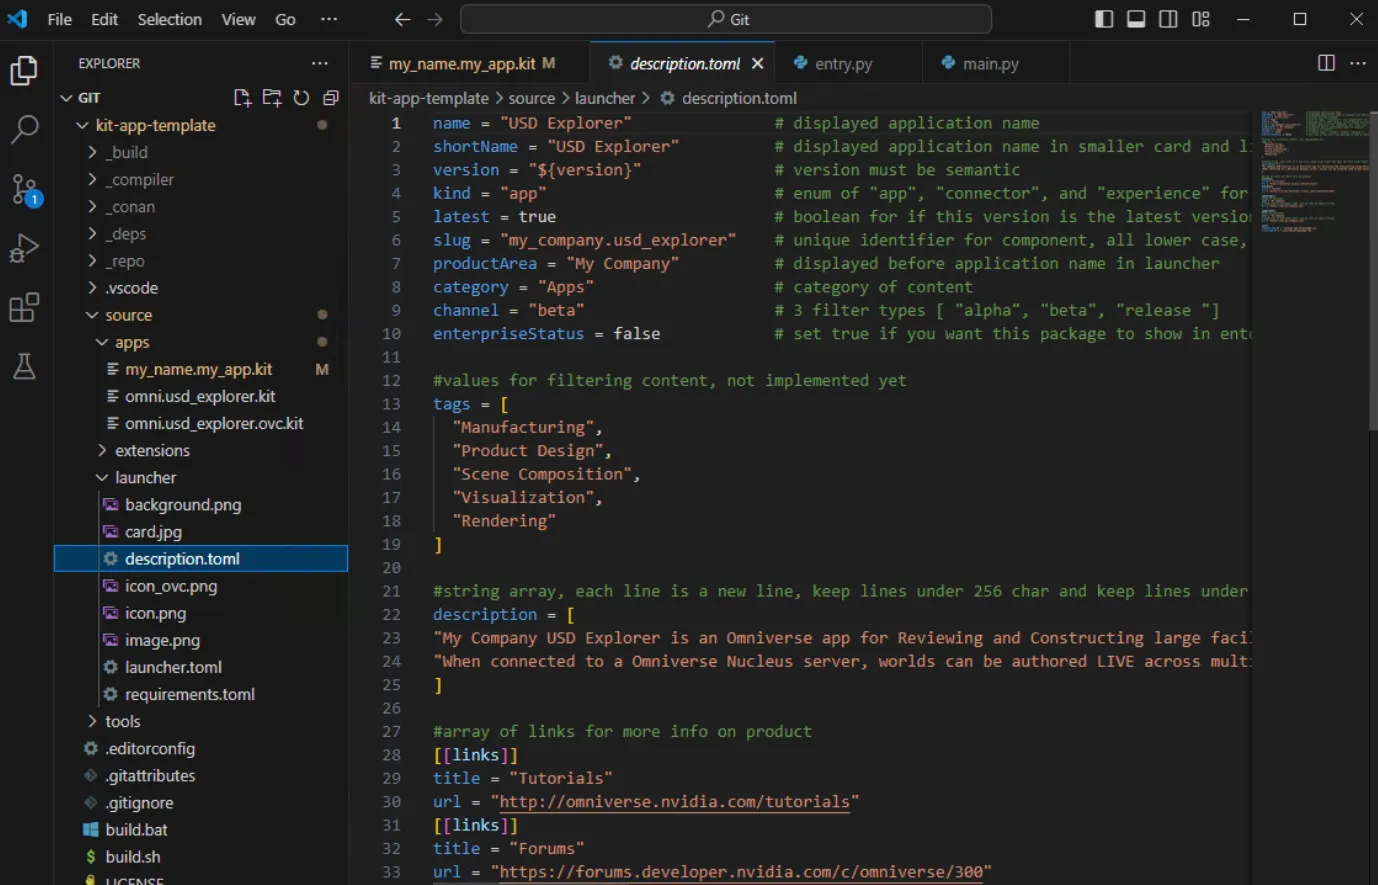
You can modify the launcher display settings such as app name, description, and system requirements by editing:
source/launcher/description.toml
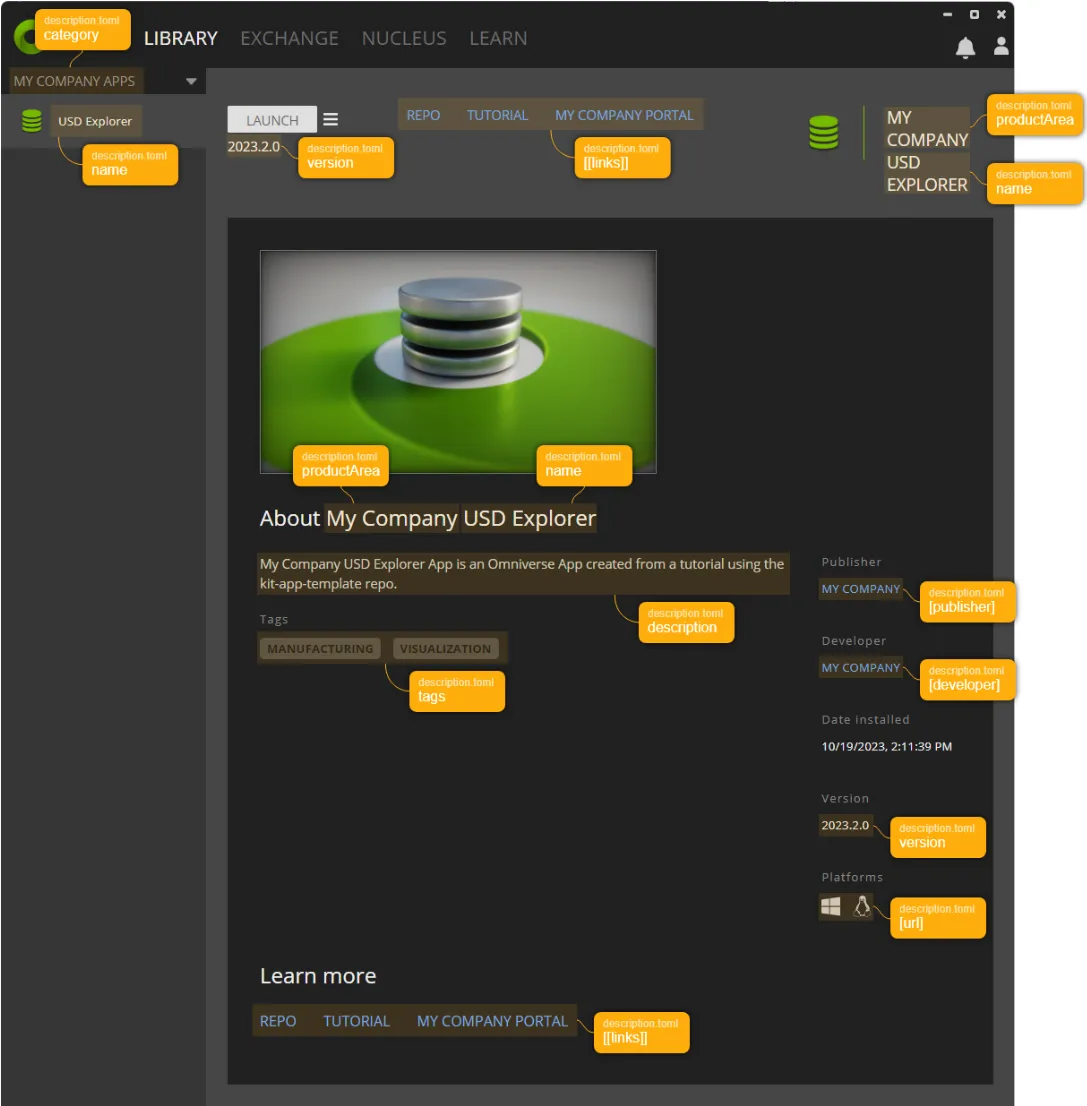
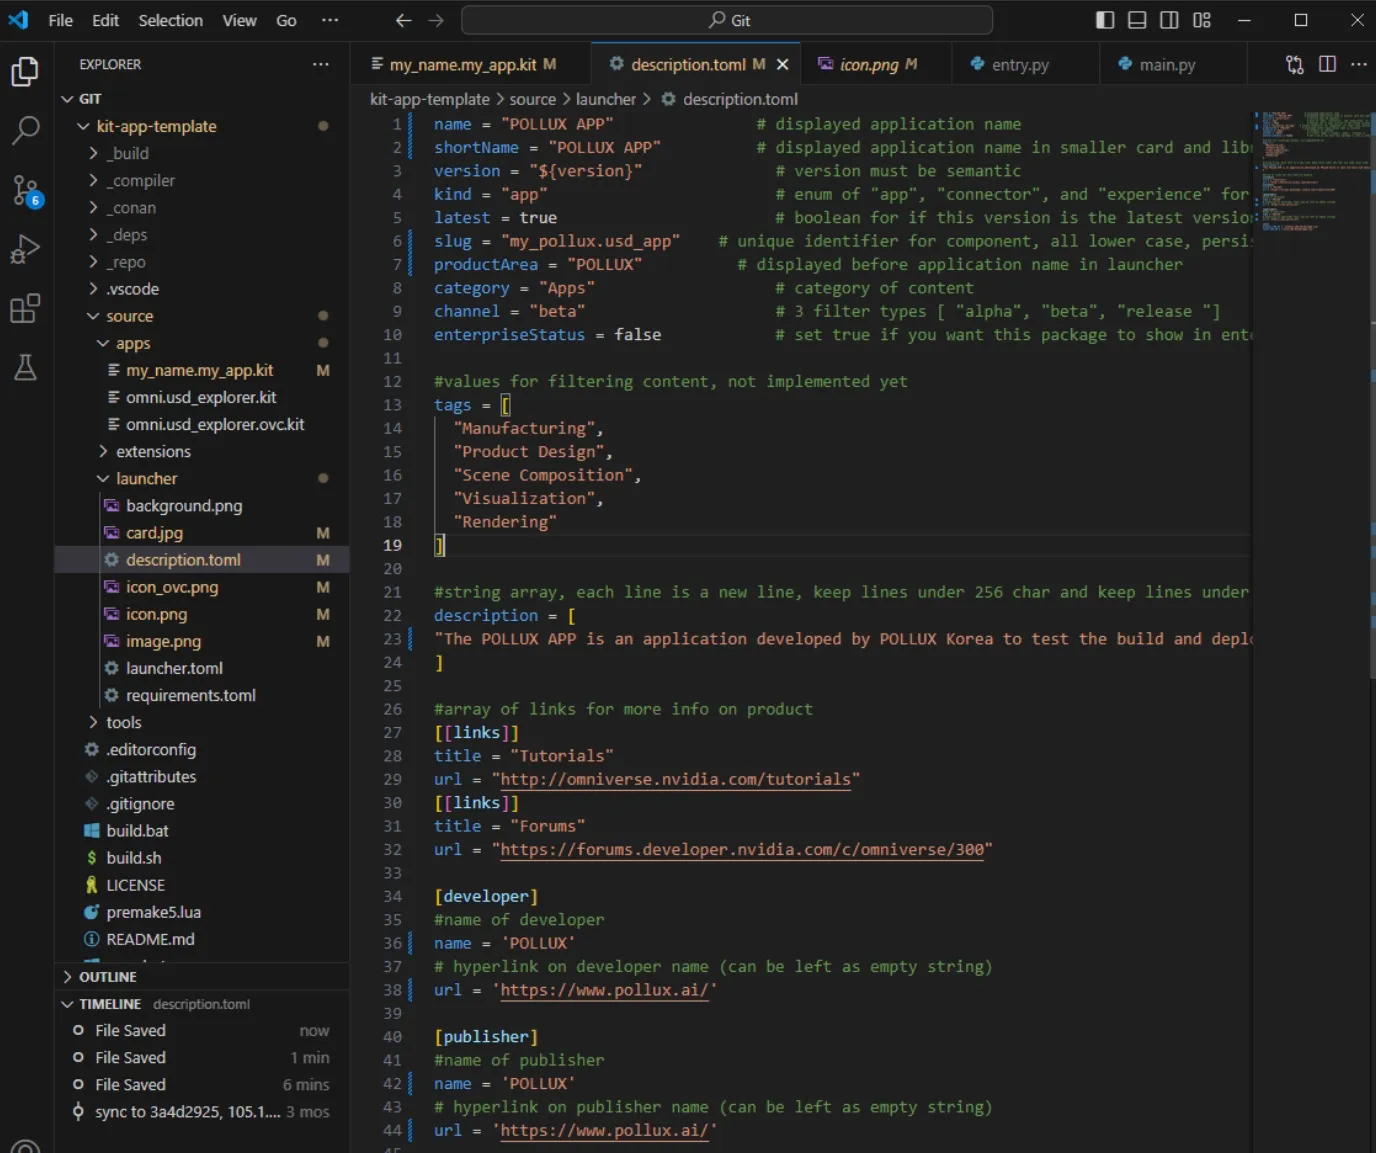
This file determines how your app will appear in the Launcher and on Omniverse Exchange.
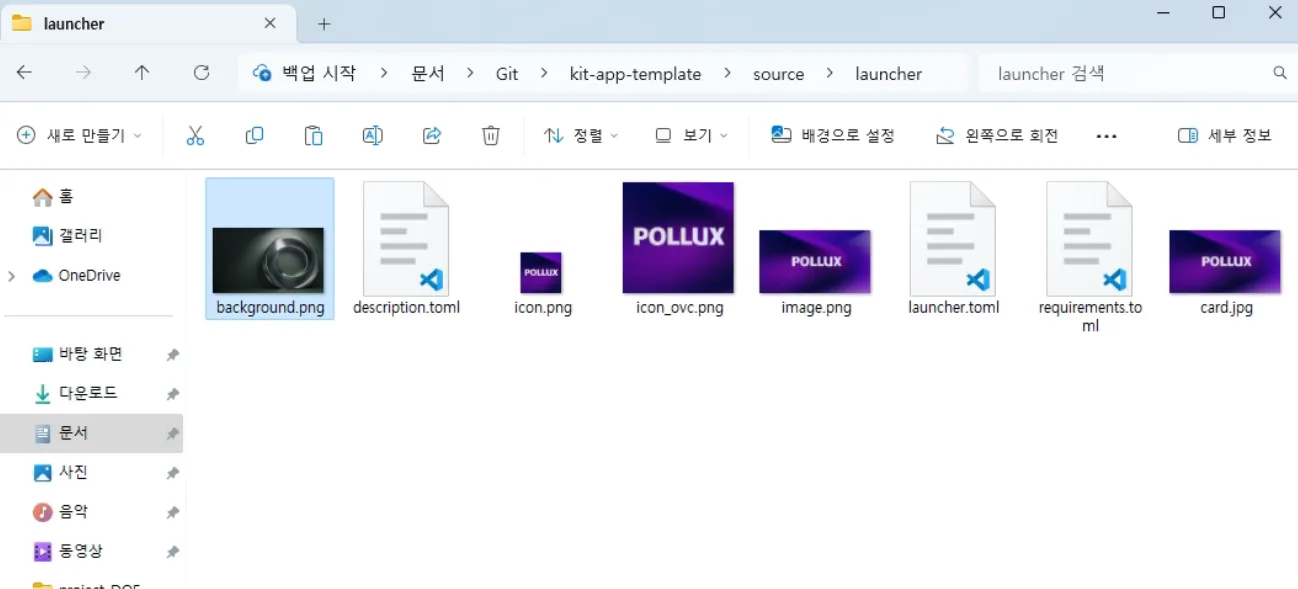
Customize the App Icon
After completing all steps, the POLLUX-integrated app is now visible in the Omniverse Launcher and launches as a standalone Omniverse Kit-based application.
Using Omniverse Kit, you can not only develop powerful extensions but also package them into full-fledged, standalone applications.
By integrating custom extensions (like the one used here for OpenModelica data), and deploying them via the Launcher, you unlock possibilities such as:
This example lays the groundwork for even more advanced setups—such as Dockerized deployment, REST API integrations, and cloud-based services.
Share this post: